Available on every plan · Updated 12 September 2026
Also asked as: “change my brand colour” · “upload my logo” · “my storefront looks generic” · “which theme was applied to my store”
Set up your branding is the second row of the setup checklist on your Home page, and the one that makes the storefront look like yours rather than like a template. Choose Set up on the row and a three-step dialog opens on the same page.
1. Say what you sell
The first step asks What do you sell? and offers eight kinds of store: Fashion, Beauty, Electronics, Food & Drink, Home & Garden, Sports, Health and Jewellery. Pick the closest one and choose Next.
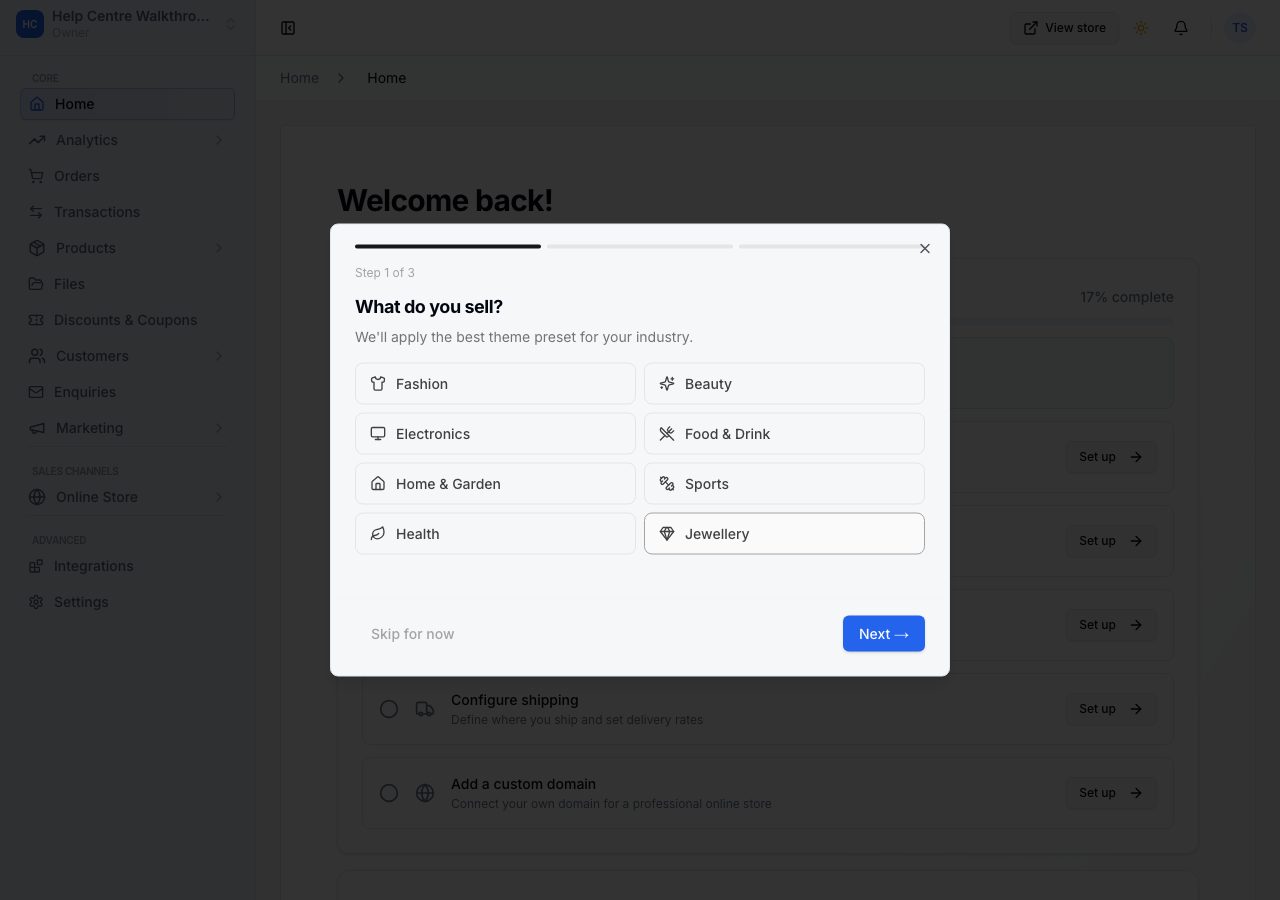
Your choice picks a theme for your storefront: the design that suits that kind of shop best, from the themes available to your store. You are not locked to it. You can change the theme any time under Online Store → Themes, and picking an industry here is only a good first guess.
Skip for now closes the dialog without changing anything; the row stays unticked so you can come back to it.
2. Pick a brand colour
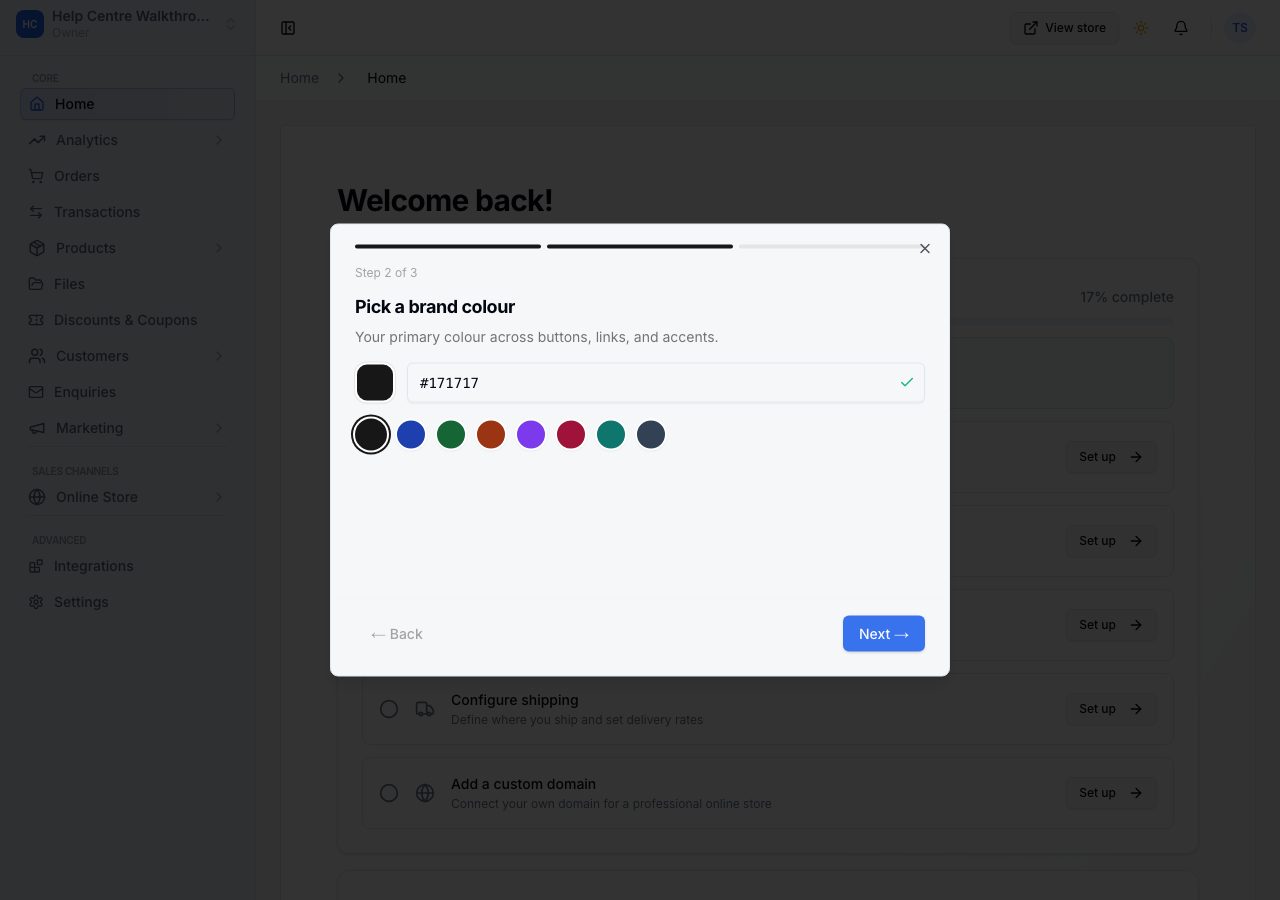
The second step shows your current colour as a hex code with a row of eight swatches beneath it. Choose a swatch, or type your own code into the box (a six-digit code such as the one already there). The colour is used for buttons, links and accents across your storefront, so pick the colour customers already know you by.
3. Add your logo
The third step takes your logo: click or drag a file into the box, or Choose from library if you have already uploaded it under Files. JPG, PNG, GIF or WebP, up to 10 MB. You can leave this step empty and add a logo later under Settings → General.
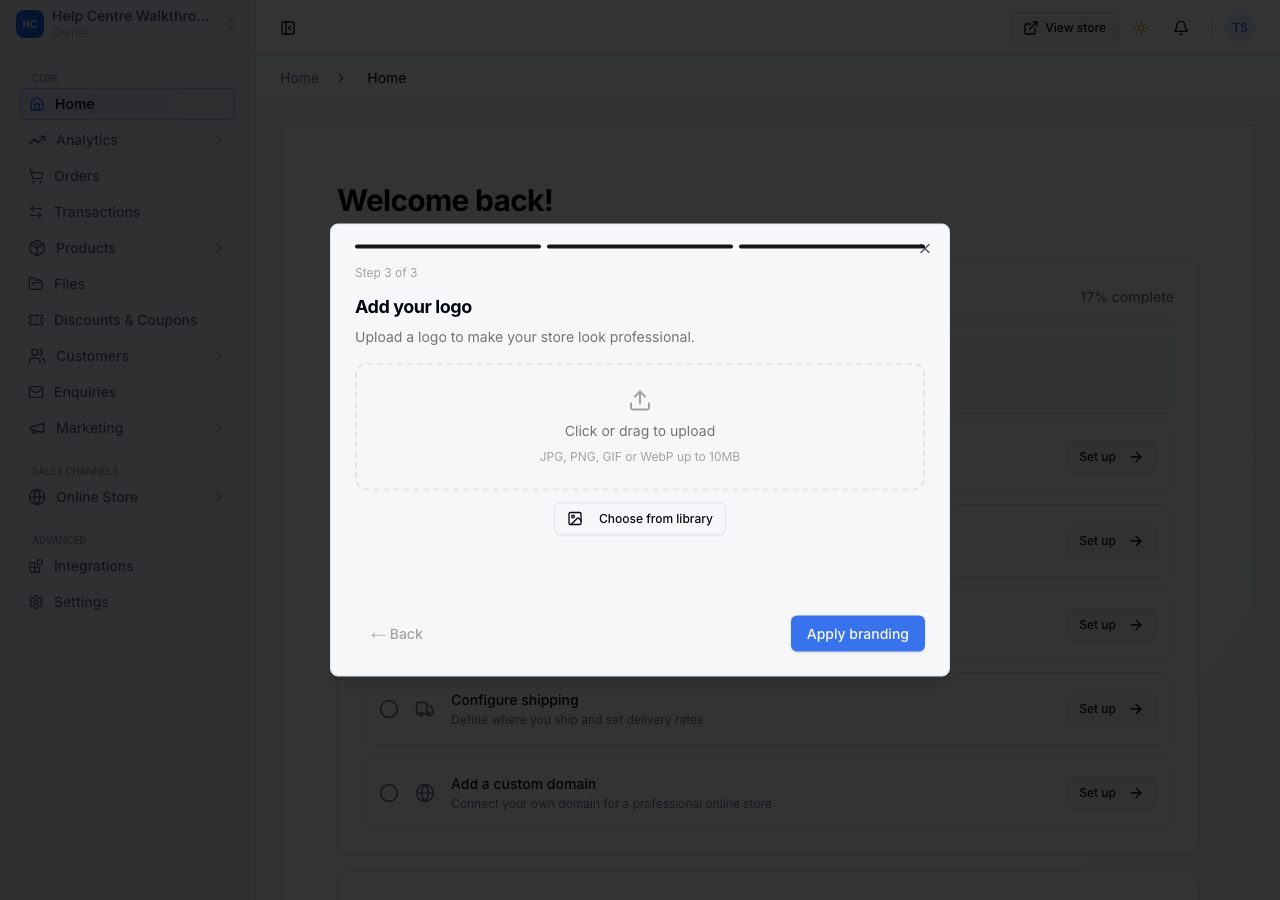
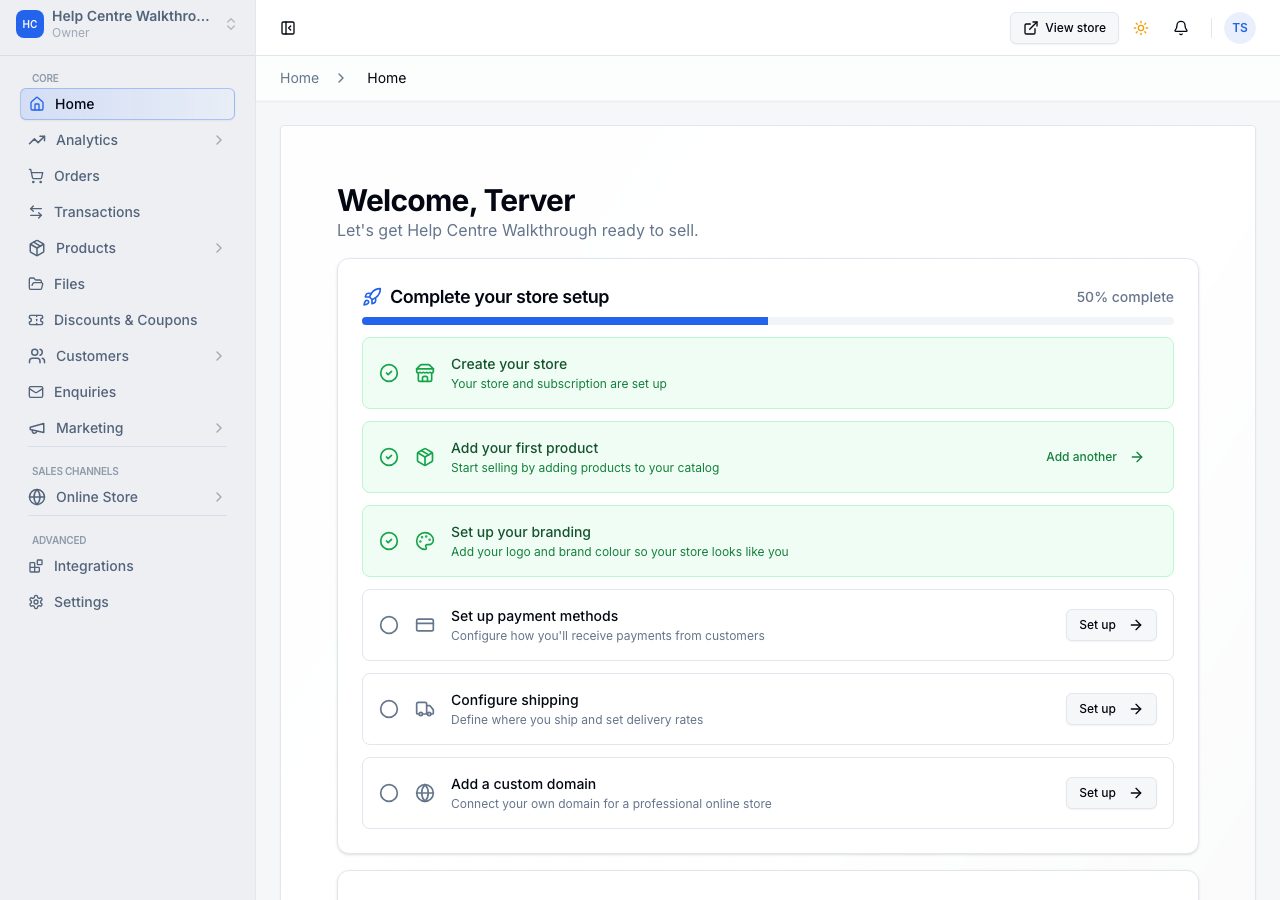
Choose Apply branding. The theme, the colour and the logo are written to your storefront together, and you are back on Home with the row ticked.
What it changed, and what it did not
- Your storefront now uses the theme for your industry, with your colour on its buttons and links and your logo in its header. Choose View store at the top of any page to see it.
- Products, pages and settings are untouched. Applying a look never removes anything you have added.
- The row is ticked once you have applied branding. Applying it again later does not un-tick it.
Changing it later
- The theme: Online Store → Themes lists the themes available to your store; applying one asks for your brand colour again and keeps your logo, your menus and your policy pages.
- The logo: Settings → General, under Store Identity.
- The colour: Settings → General, in the same card as the logo. See Brand colour and logo.
If it does not work
- The dialog does not open: the row has already ticked, or the checklist has folded away because every row is done. Use Online Store → Themes instead.
- Saved, but no theme applied: your colour and logo were kept, but no theme was available for the industry you chose. Pick a theme under Online Store → Themes; the colour and logo you set are used with it.
- Logo not accepted: the file is not one of the four types above, or is over 10 MB. Export a smaller PNG or JPG and try again.
If none of that resolves it, email support@shoponent.com with your store name. We read and answer every message.