Available on every plan · Updated 12 September 2026
Also asked as: “add a product” · “product will not save” · “server error when saving a product” · “product not showing on my storefront” · “what does draft mean”
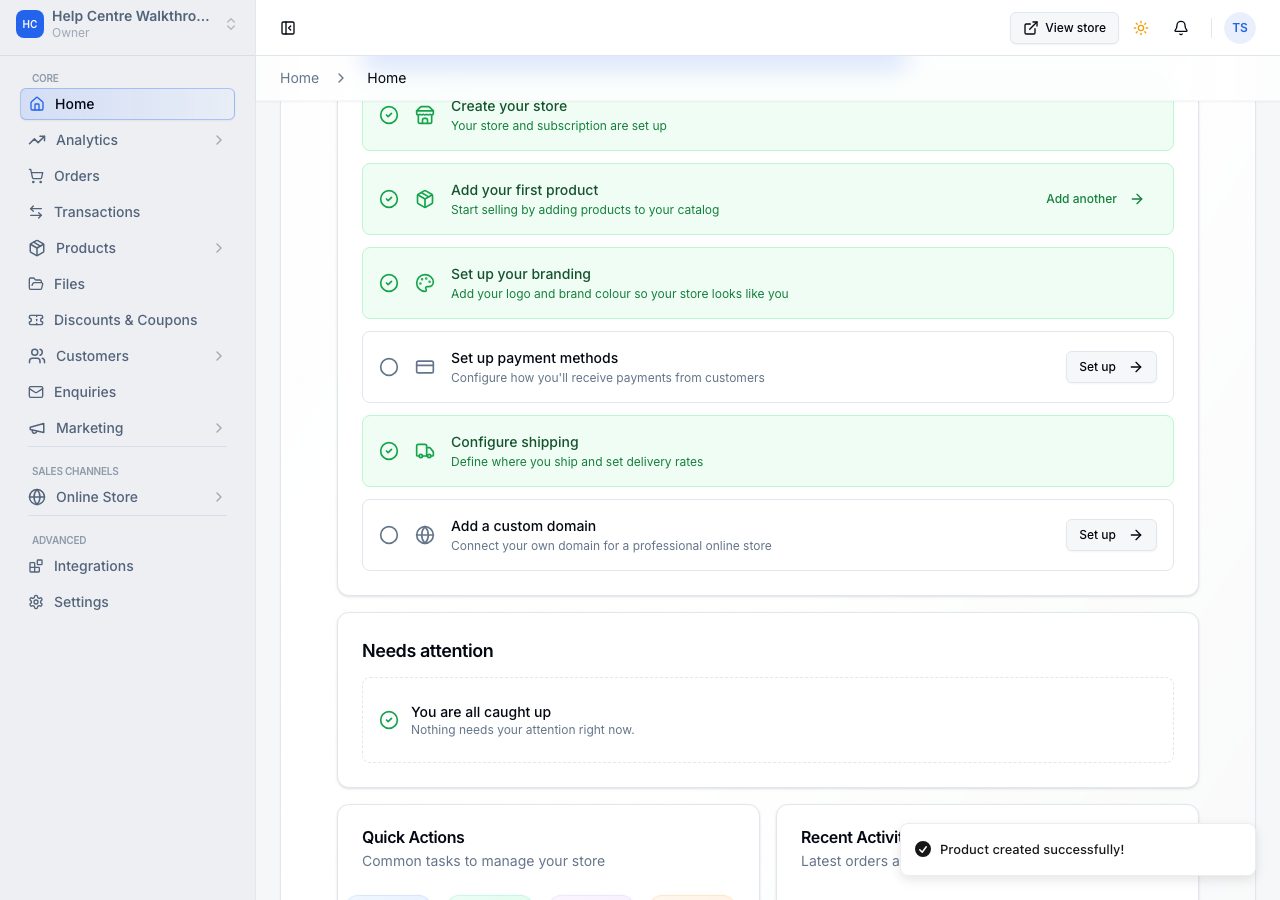
Add your first product is the first open row of the setup checklist on Home. Choose Set up and the product form opens; when you save, you are brought back to the checklist with the row ticked.

The same form is behind Products → All Products → Add product, and behind the round button on a phone, so nothing here is special to the first product.
1. Give it a title and a description
The form is headed Add product. The only field it insists on is Title, which is the name customers see. The description is optional and takes formatting: bold, italics, lists.
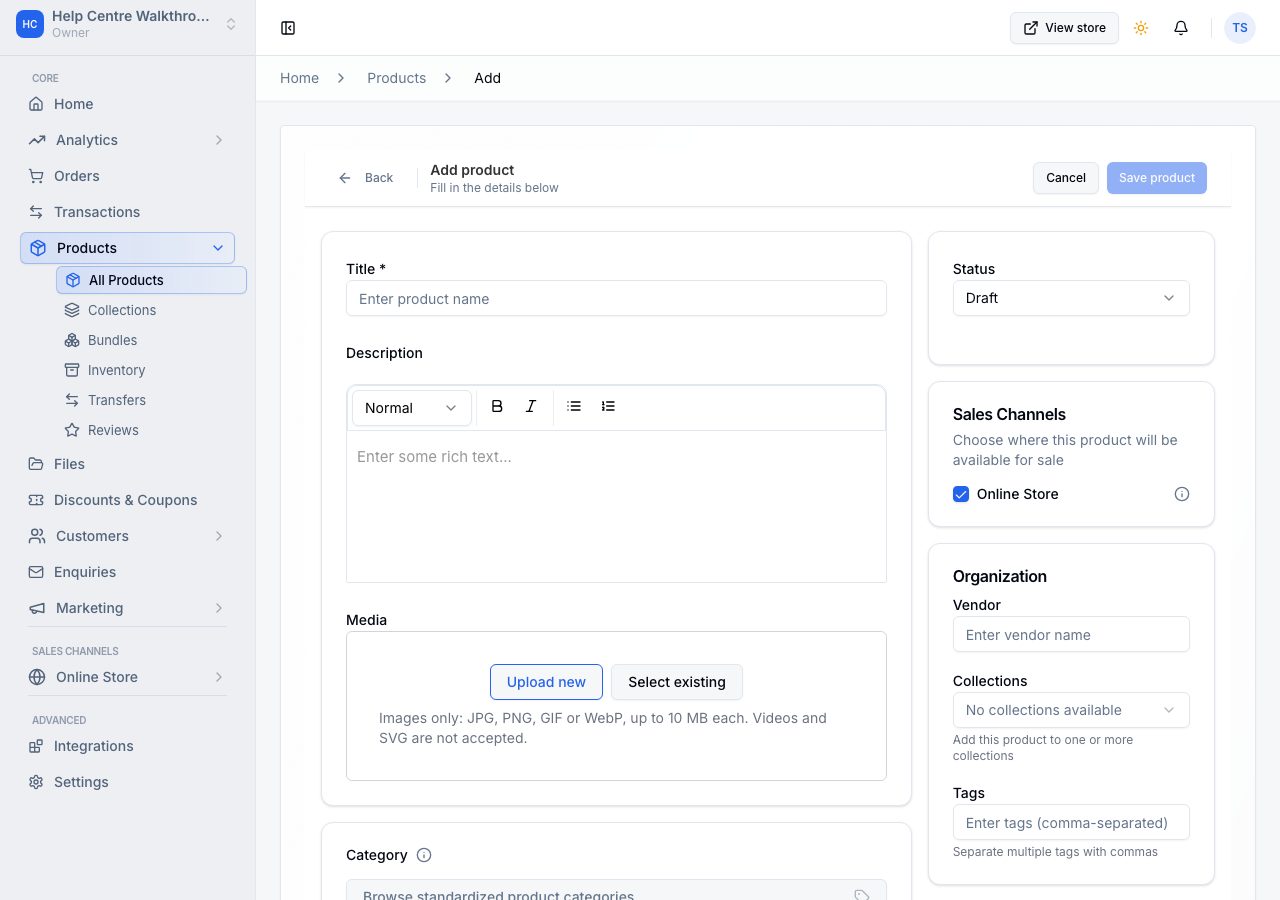
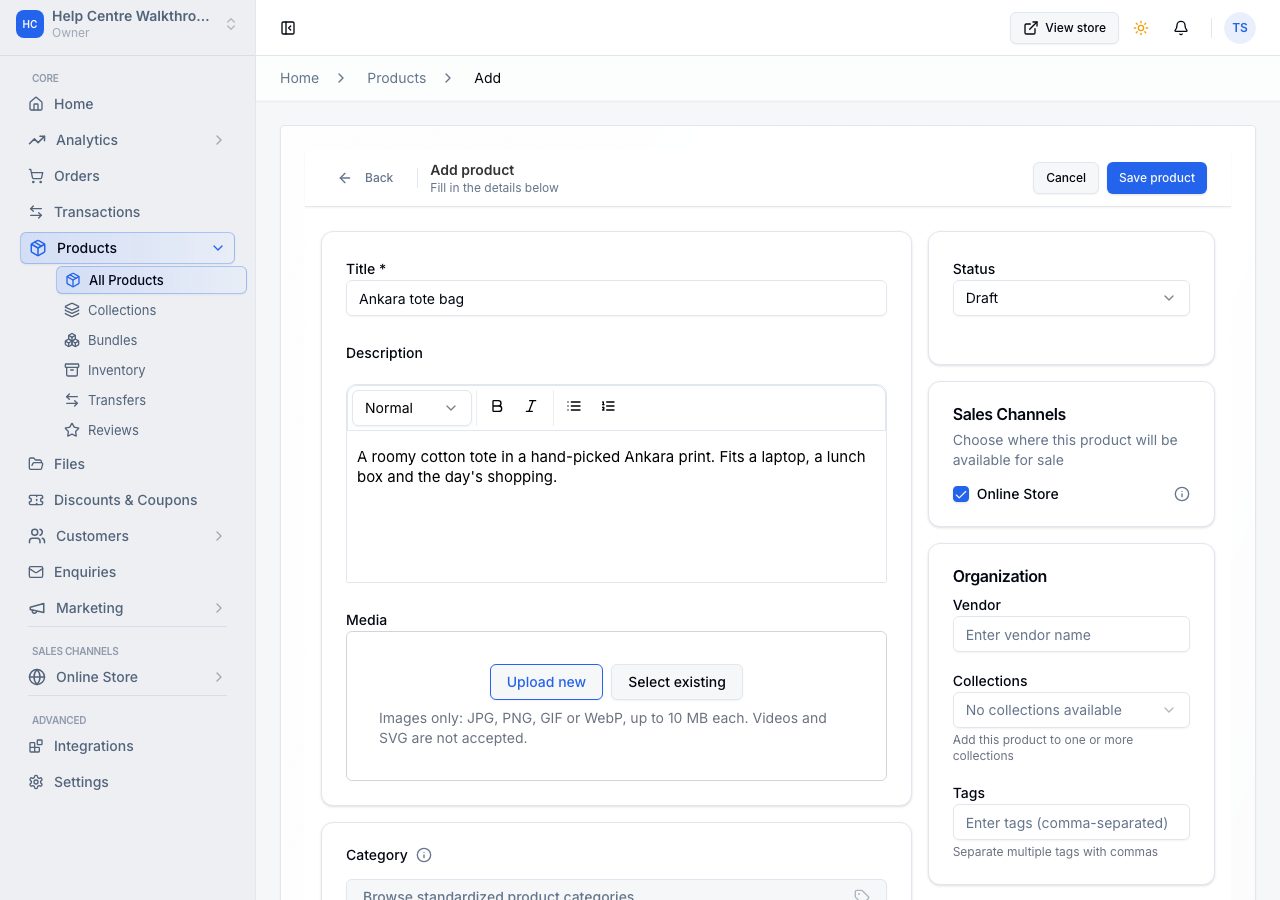
Media takes photos: Upload new picks files from your device, Select existing picks from what you have already uploaded under Files. Images only: JPG, PNG, GIF or WebP, up to 10 MB each. The first image is the one shown in listings. A product with no photo saves fine and looks unfinished on the storefront, so add at least one.
2. Set the price
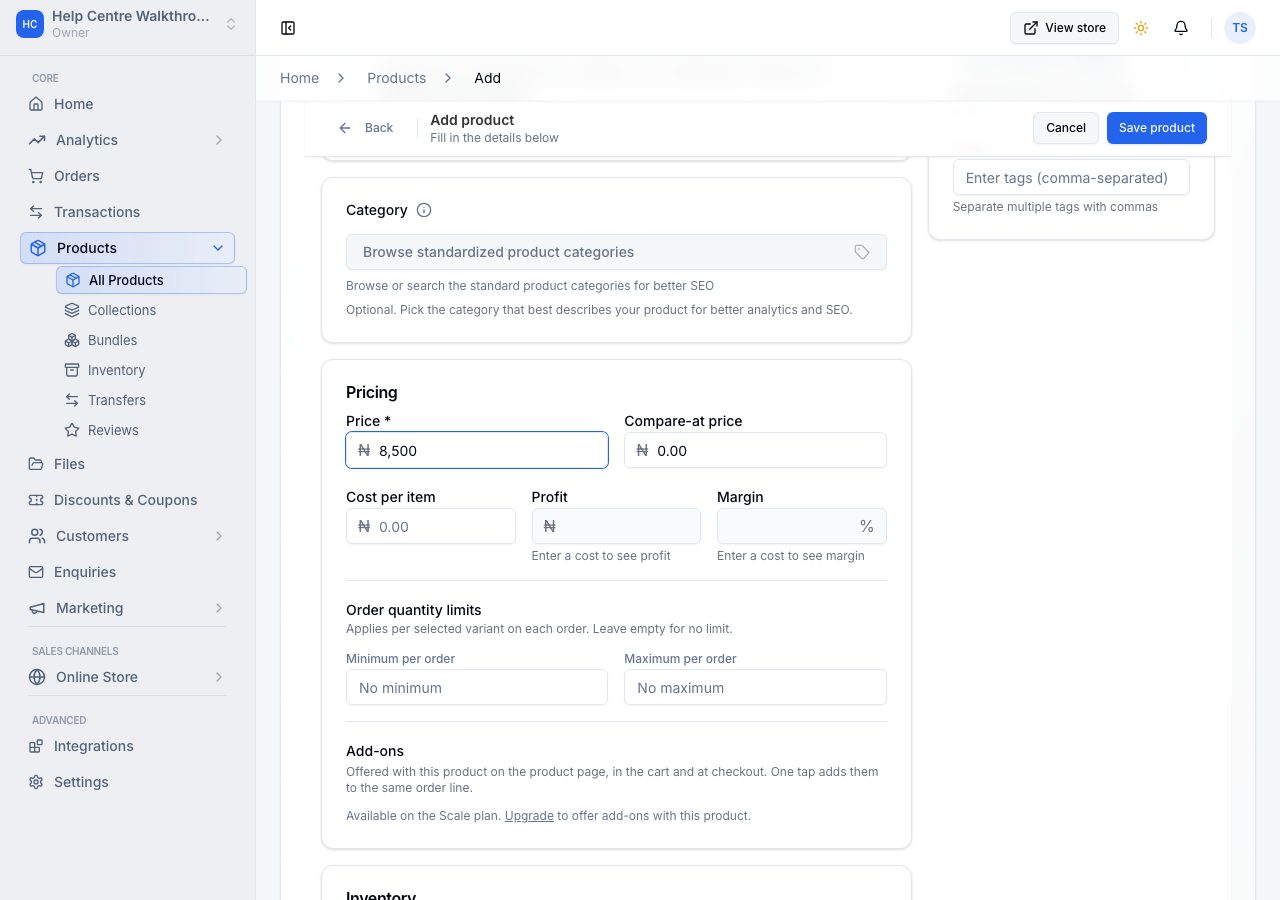
Under Pricing, Price is what customers pay. Compare-at price is optional: a higher earlier price shown struck through beside the real one. Cost per item is for you alone; fill it in and the form shows your profit and margin.
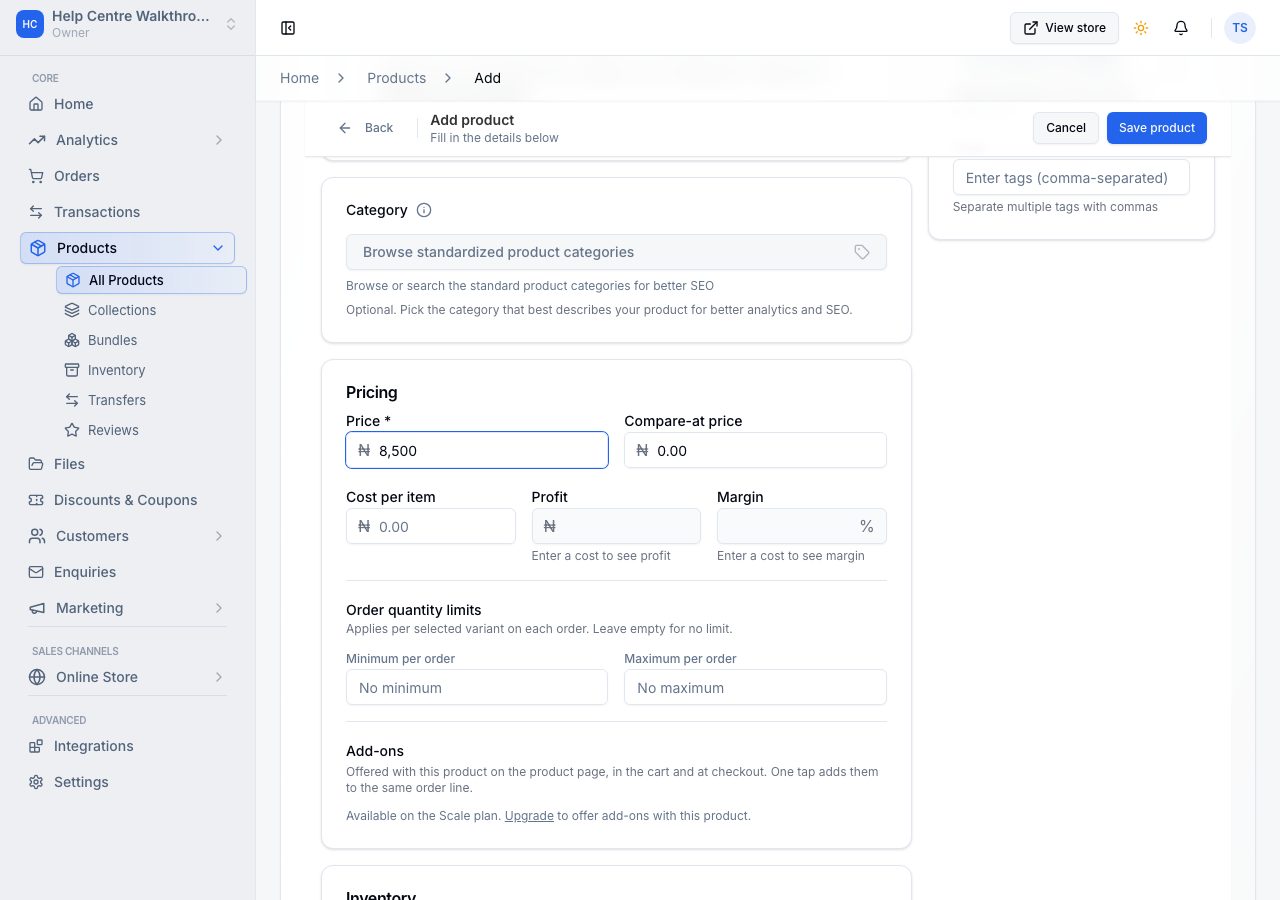
Order quantity limits set a minimum or a maximum per order; leave them empty for no limit. Add-ons are extras offered with the product, on the Scale plan.
3. Say how much you have
Under Inventory, the form tracks stock by default and starts you at your main location with a quantity of zero. Type what you have on the shelf. If the product comes in sizes or colours, switch on Use product variants and add the options; each combination gets its own price and stock, which the products pages cover in full.
4. Choose where it is sold, and save
On the right, Status starts as Draft: the product is saved but not on the storefront. Set it to Active when it is ready to sell. Sales Channels has Online Store ticked, which is where it appears once active. Organization takes a vendor, collections and tags, all optional.
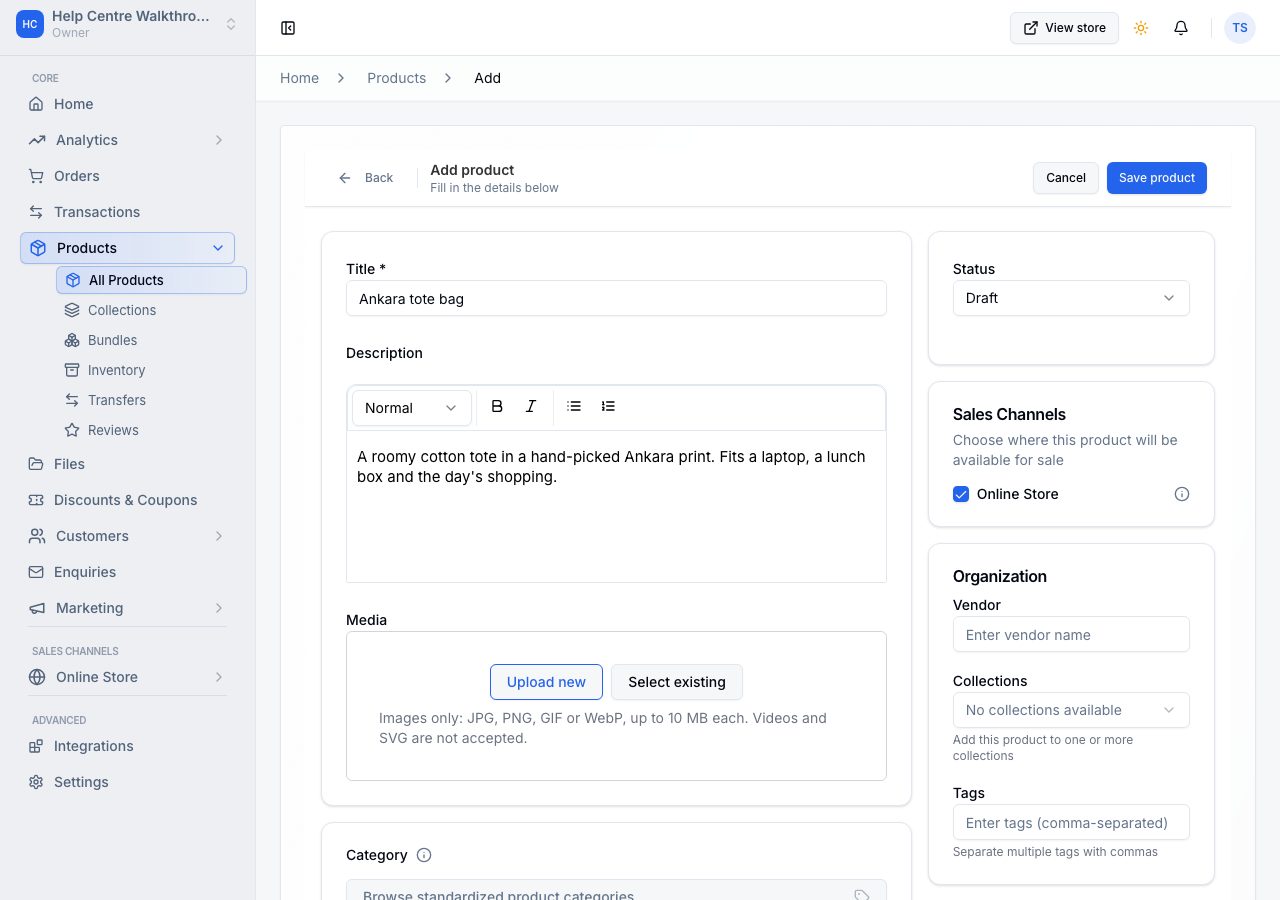
Choose Save product at the top. You are back on Home with the row ticked. The product is in Products → All Products from now on, whichever status you chose.
If it does not work
- Save product is greyed out: the title is empty. It is the one required field.
- Please set a location and quantity for this product: stock tracking is on but no location is listed. Choose your location under Inventory, or switch tracking off for this product.
- A product with this name already exists in your store: choose a different title. Two products cannot share a name in one store, and that includes a product you archived, and a name that differs only in capitals or punctuation.
- Server error occurred. Please try again later: nothing was saved. Try once more; if it happens again, email us with the product's title and the time you tried, so we can find it in our logs.
- The product is not on the storefront: its status is still Draft, or Online Store is not ticked under Sales Channels. Open the product and check both.
Email support@shoponent.com with your store name if anything here does not match what you see. We read and answer every message.