Available on every plan · Updated 12 September 2026
Also asked as: “connect paystack” · “paystack keys” · “test connection failed” · “paystack webhook url” · “paystack switch is greyed out”
Paystack is a payment gateway you hold an account with. Connecting it here means your checkout can take cards, bank transfers and USSD, and that every charge runs on your Paystack account. The money settles to you on Paystack's terms, and we hold none of it. It is on every plan.
You need a Paystack account of your own first. If you have not opened one, do that at Paystack before starting here.
1. Find the card
Go to Settings → Payments → Payment Methods and scroll to Your payment gateways.
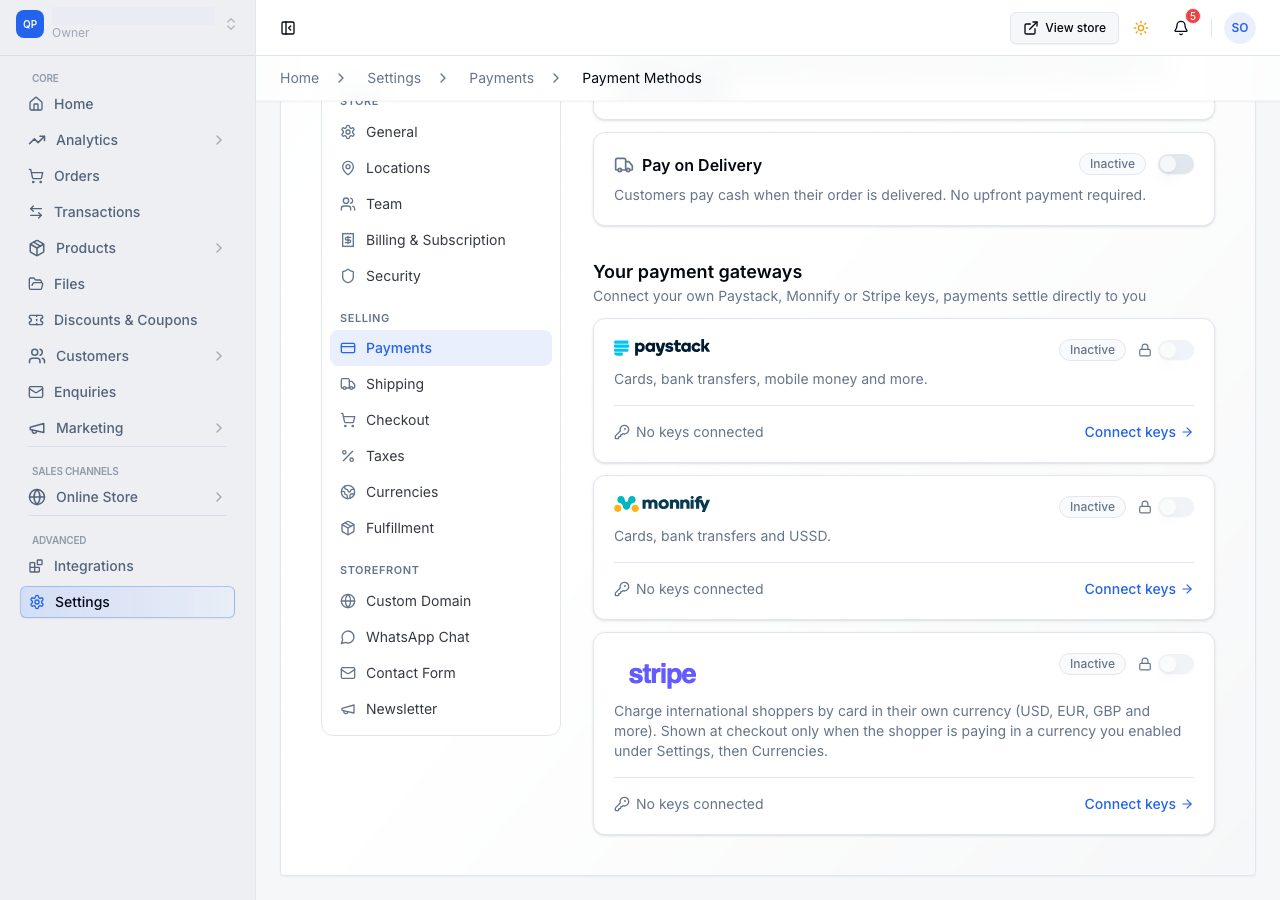
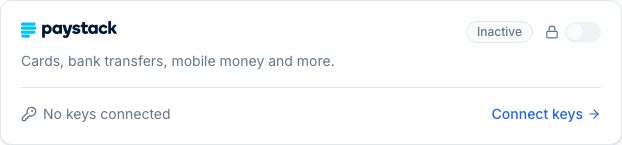
The Paystack card reads No keys connected until you have connected it, and its switch will not move until you have. Choose Connect keys.
2. Choose Live or Test
The setup page opens with a Mode at the top.
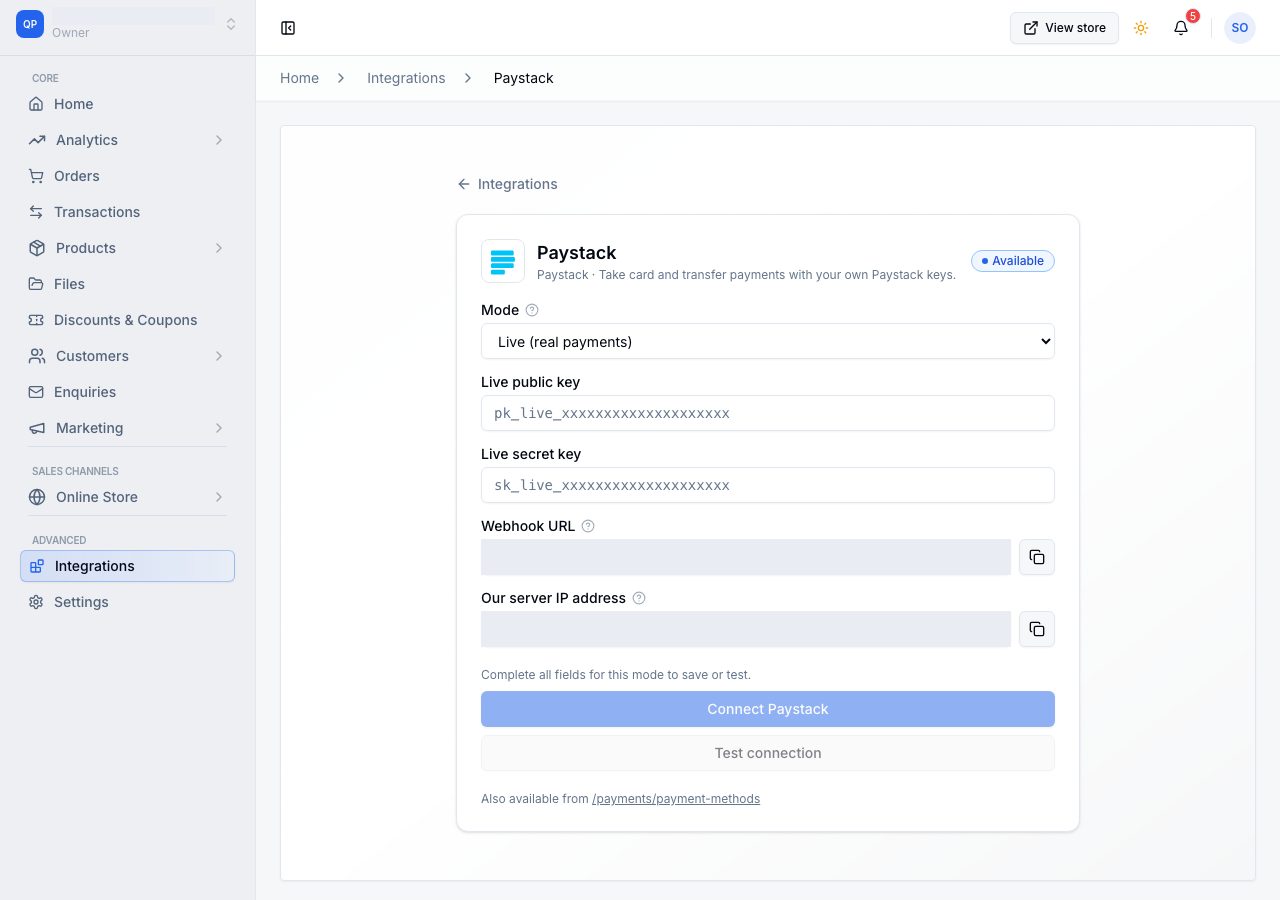
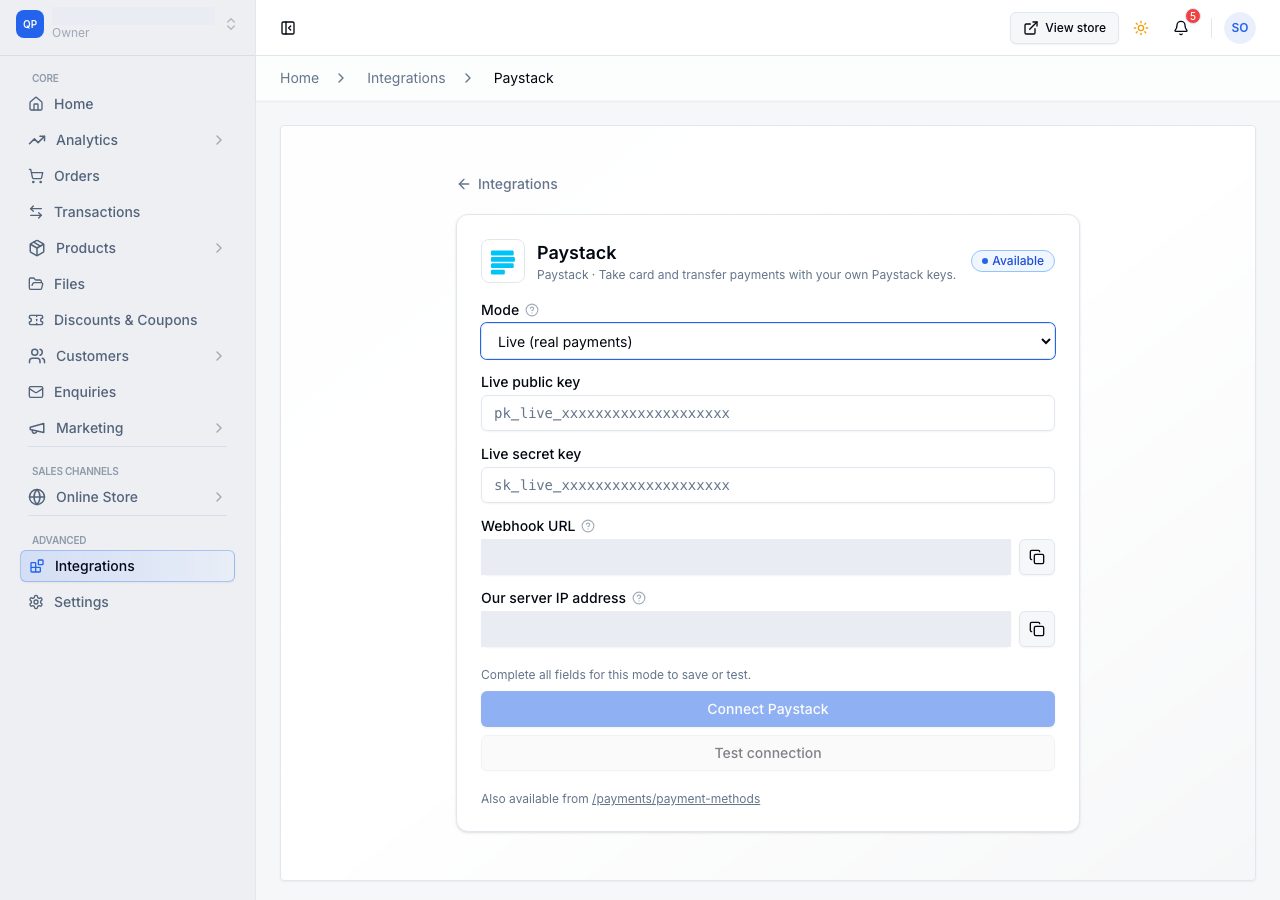
- Live (real payments) is what a real shop runs on.
- Test (sandbox, no real money) lets you place an order end to end with Paystack's test cards before you open.
Both sets of keys can be saved at once and the Mode is a pure toggle between them, so trying test mode never means retyping your live keys. Orders taken in test mode are marked Test in your order list and are left out of your takings, so they are never mistaken for sales.
3. Paste your keys
The fields follow the mode you picked: a public key and a secret key, both from Paystack Dashboard → Settings → API Keys & Webhooks. They are checked as you type, so a key pasted into the wrong field, or a live key in the test slot, is reported before you save anything. Your secret key is encrypted and never shown back to you.
4. Copy the webhook URL into Paystack
The Webhook URL field holds an address that belongs to your store alone. Copy it with the button beside it and paste it into the same Paystack dashboard page, for both Live and Test.
This is how we hear about a payment when the customer closes the window before coming back to your shop. It is optional and worth two minutes: without it, a payment is confirmed when the customer returns, and by a check that runs behind the scenes afterwards.
Our server IP address on the same page matters only if you have turned on Paystack's IP whitelisting. Charges from your store are made by our servers, so that address has to be on your allowed list or Paystack will refuse them. If you have never enabled whitelisting, ignore it.
5. Connect, then test
Choose Connect Paystack, then Test connection. The test calls Paystack with the key you saved and tells you what it found. A wrong, truncated or regenerated key is reported here rather than by a customer at checkout.
6. Switch it on at checkout
Back on Settings → Payments → Payment Methods, the Paystack switch now moves. Turning it on confirms that payments will settle directly to your own Paystack account. At checkout the method reads Pay with Paystack.
Turning it off
Disconnecting your keys switches the method off by itself, so a checkout never offers a gateway that cannot take a payment. Switching the method off leaves the keys saved.
If it does not work
- The switch is greyed out: no keys are connected yet. Choose Connect keys first.
- Test connection fails: the key is from the other mode, is incomplete, or was regenerated in your Paystack dashboard. Paste it again.
- Paystack rejected the secret key: that is Paystack refusing the key itself, not us. Copy it fresh from their dashboard.
- A customer paid and the order still reads unpaid: it settles when the customer returns, and a check on our side picks up the rest shortly after. If it has not settled by the time you expect, email us the order number.
- Every charge fails and your account uses IP whitelisting: add the server address shown on the setup page to your allowed list in Paystack.
Email support@shoponent.com with your store name if anything here does not match what you see. We read and answer every message.