Available on every plan · Updated 12 September 2026
Also asked as: “connect facebook pixel” · “meta pixel id” · “my purchases are not showing in events manager” · “retarget shoppers on instagram” · “where do I add my pixel”
Connecting your Meta Pixel lets your own Meta dataset see what shoppers do on your storefront, so the ads you run on Facebook and Instagram can be measured against real orders and can follow up with people who did not finish.
The pixel stays yours. We never sign in to your Meta account and we never touch your ad account, your campaigns or your budgets. All we do is send your storefront's events to the dataset you name.
Connecting is on every plan.
Before you start
You need your Pixel ID, sometimes called the dataset ID. Meta shows it in Events Manager beside the dataset name, and it is a long number, usually fifteen or sixteen digits.
Copy it before you start.
Find the card
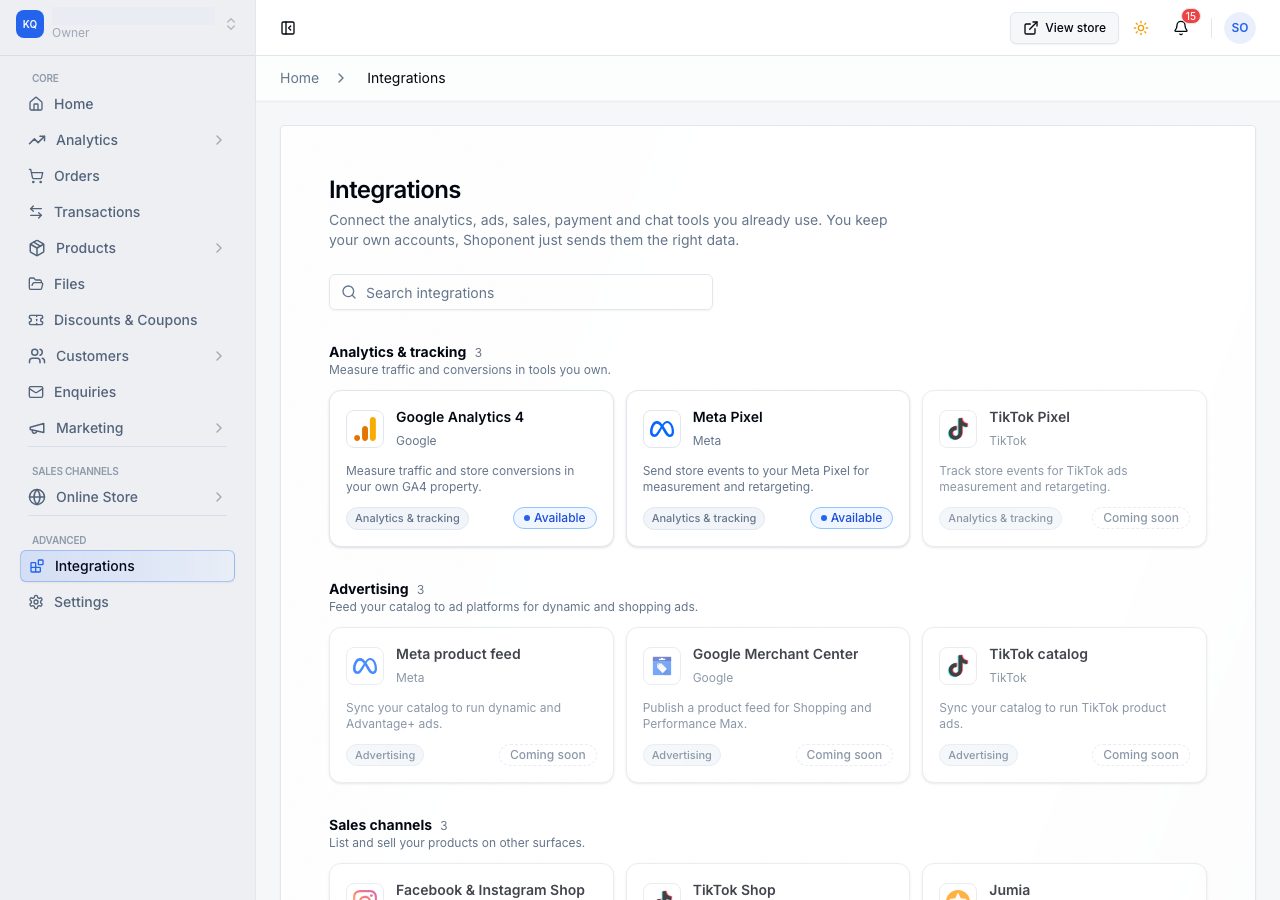
Open Integrations in the sidebar. Connectors are grouped by what they are for, and Meta Pixel sits under Analytics & tracking.
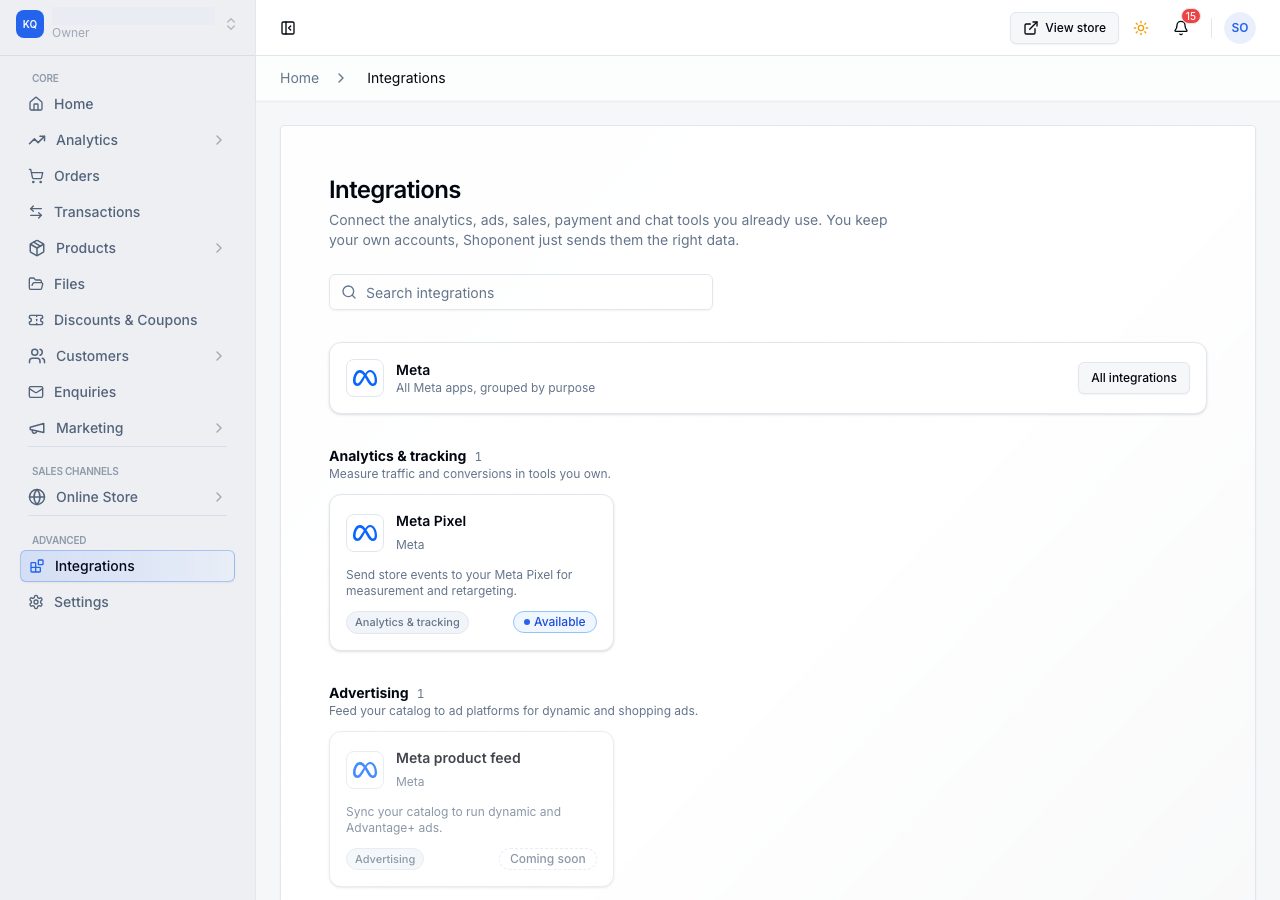
Meta appears on more than one card, because a shop uses Meta for more than one thing: the pixel for measurement, a product feed for dynamic ads, and a Facebook and Instagram shop as a place to sell. Choosing the company name on any Meta card gathers them all in one view. They share a single connection, so you only ever connect your Meta account once.
Connect it
Choose the Meta Pixel card. It opens its own setup page, with two boxes on it and the card's status beside the name.
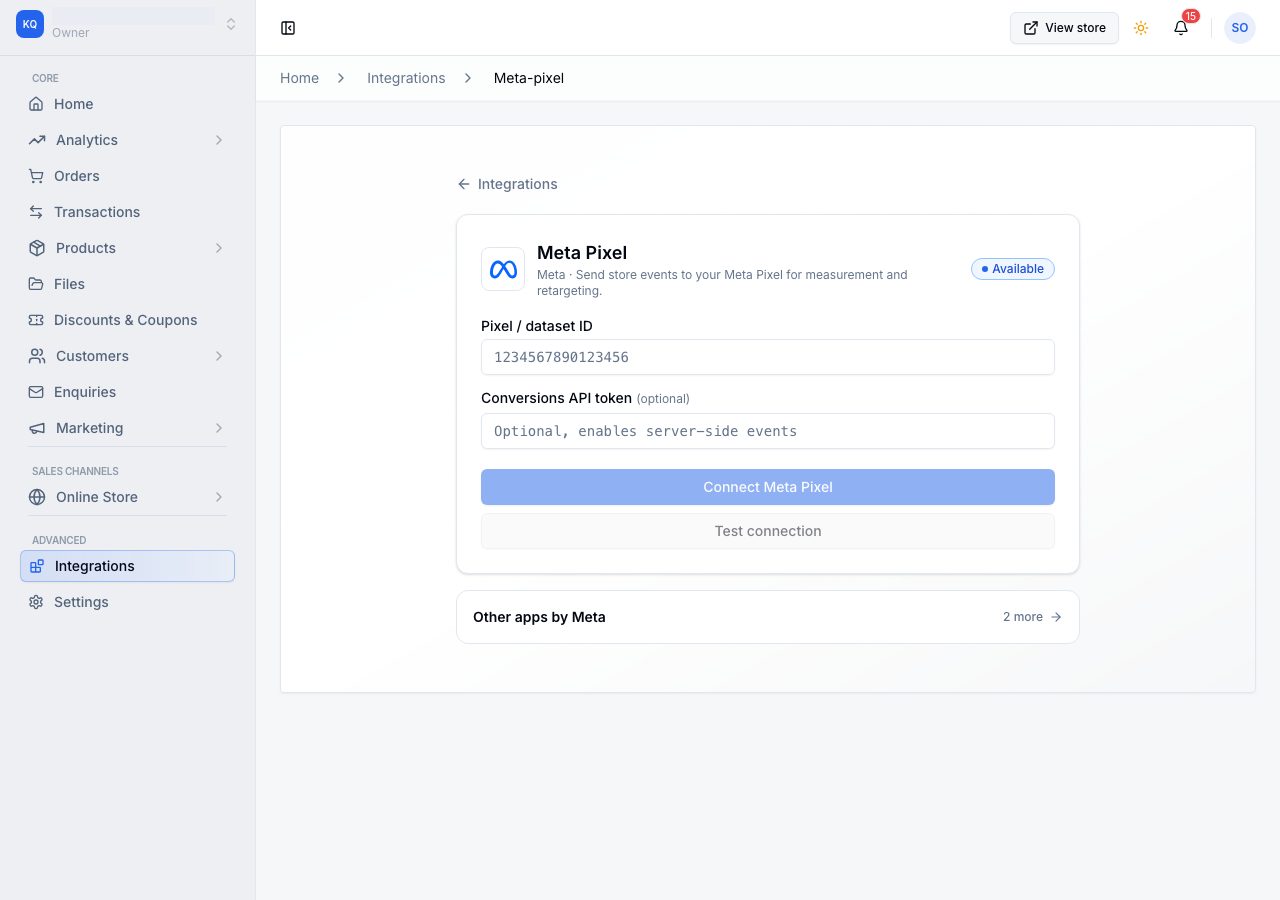
- Paste your Pixel ID into the Pixel / dataset ID box.
- Leave the Conversions API token box empty. It is marked optional because it is there for server-side events, which are not sending yet.
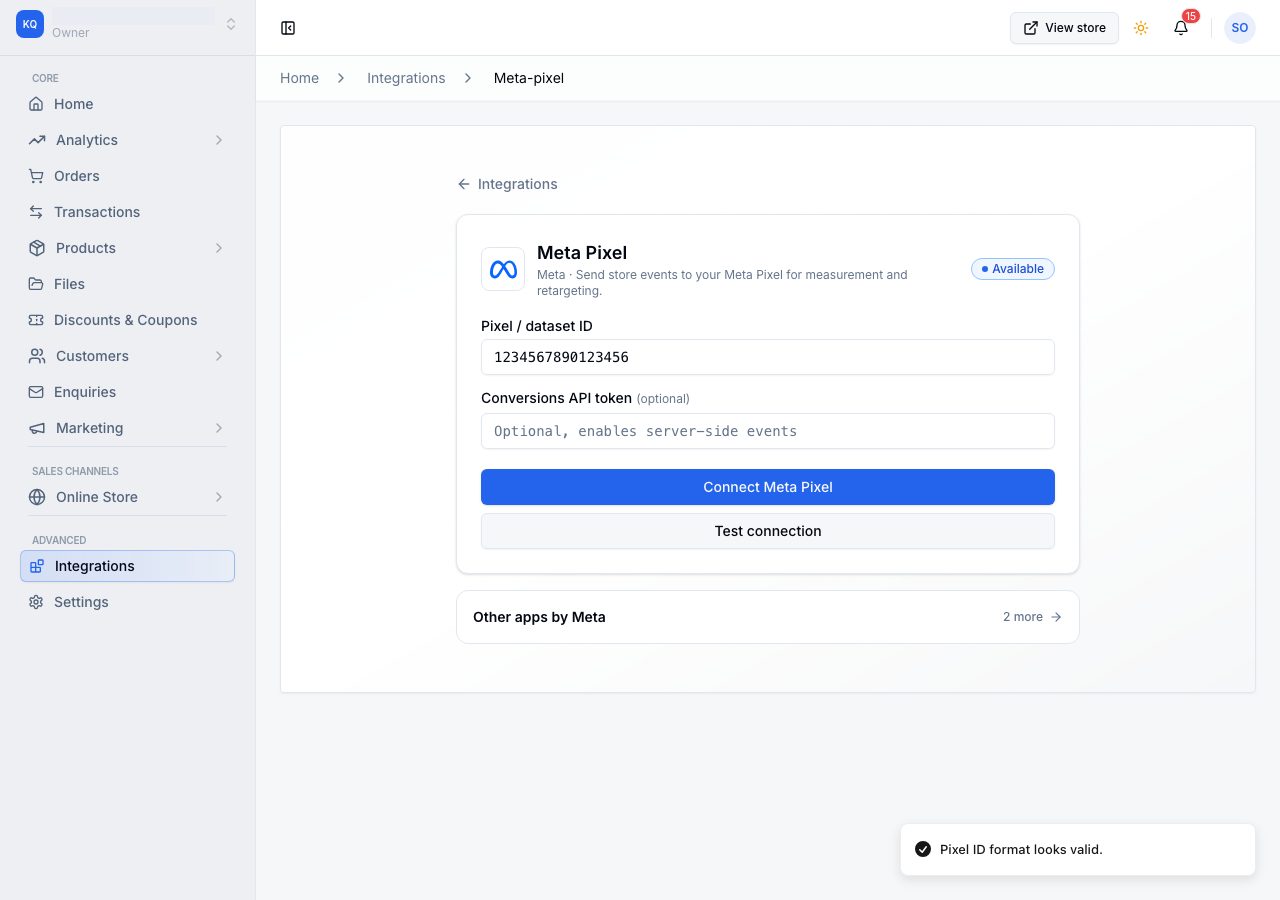
- Choose Test connection. It checks the ID is the right shape before you commit to it, and a note in the corner of the screen tells you either way.
- Choose Connect Meta Pixel. The status beside the name changes to Connected, and your storefront starts sending events on its next page load.
Meta takes its own time to show incoming events. Open your storefront in another tab and watch the test events view in Events Manager.
What gets sent
Once connected, your storefront reports the six moments that matter for a shop:
- a page opened,
- a product viewed,
- something added to the basket,
- checkout started,
- payment details entered,
- an order placed, with what it was worth, the currency, and the items in it.
That last one is the one your ad reporting is built on.
Changing or removing it
The same setup page carries Save changes if you move to a different dataset, and Disconnect to stop. Disconnecting stops the storefront sending anything and removes the saved settings; your Meta dataset and everything already in it are untouched.
What this is not
- It does not create or manage ads, audiences or budgets. Those stay in your own Ads Manager.
- It does not list your products on Facebook or Instagram. That is the product feed and the shop, which are separate cards.
- It does not give us access to your Meta data. The information flows one way, from your storefront to your dataset.
If it does not work
- Test connection says the ID does not look right: check you copied the numeric Pixel ID from Events Manager and not the pixel's name or a code snippet.
- Nothing appears in Events Manager: confirm the card says Connected, then open your own storefront and watch the test events view. A browser with tracking protection or an ad blocker will hide your own visit.
- Purchases are missing but views are there: purchases are reported when an order is placed, so place a small test order through your own storefront and watch for it.
Email support@shoponent.com with your store name if anything here does not match what you see. We read and answer every message.